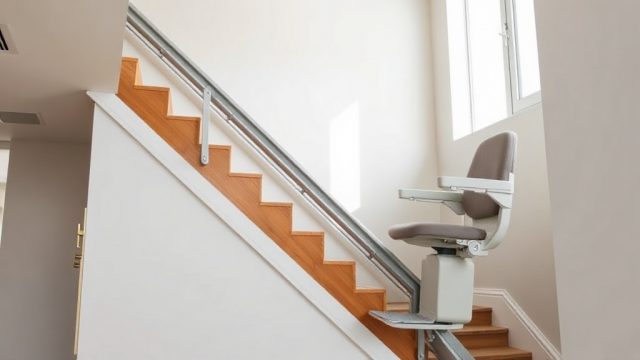
Acorn 130 Installation: Tips for a Smooth Setup
Installing the Acorn 130 stair lift doesn’t have to be a hassle if you approach it with the right preparation. This guide covers the critical steps—from measuring your staircase to securing the rail system—so you can avoid common pitfalls and get the lift running safely.
How Do You Prepare Your Staircase for the Acorn 130 Rail?
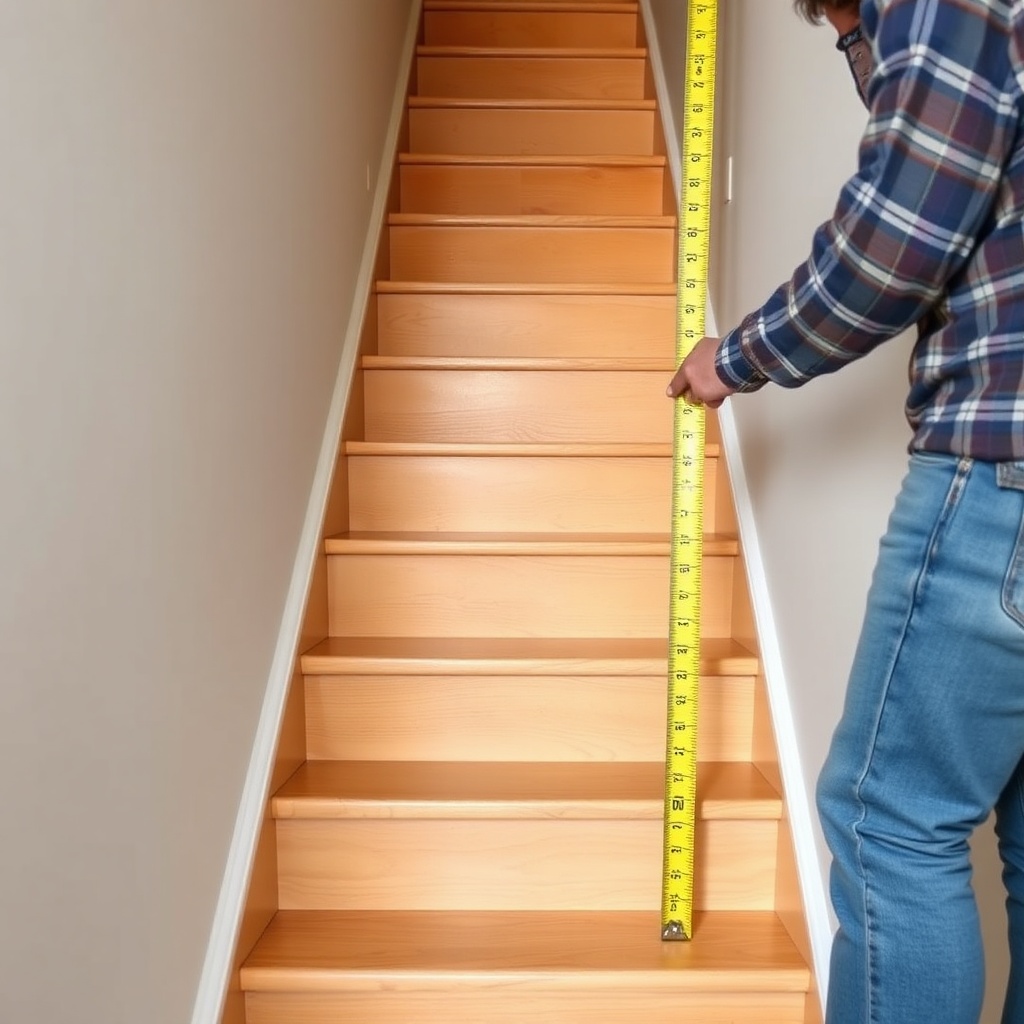
Before the installation team arrives, clear the staircase of any obstacles like loose carpets, debris, or furniture that might obstruct the rail path. The Acorn 130 requires a minimum stair width of 28 inches (711 mm) for straight models, but if your stairs are curved, that can vary. Measure the tread depth and riser height; the rail brackets need a solid attachment point—typically in the center of the stair treads or along the wall stringer. If your stairs have a landing or a half-turn, note that the rail may need custom bending, which adds about 2–3 hours to the setup. Mark the positions of electrical outlets near the top or bottom of the staircase; the lift’s power pack uses a standard 110V outlet in the US (or 230V in the UK), so ensure the socket is within 6 feet (1.8 meters) of the charge station to avoid extension cord risks.
What Tools and Components Come with the Acorn 130 Kit?
The Acorn 130 ships with a pre-assembled rail system, a carriage unit, a seat, footrest, and mounting brackets. You’ll also get a drill with masonry bits if attaching to concrete stairs, a torque wrench for bracket bolts, and a level for alignment. For most installations, the kit includes:
- Rail sections (straight or curved)
- Mounting brackets (typically 4–6 for a straight 12-step staircase)
- Carriage assembly with motor and drive mechanism
- Seat and footrest with quick-release pins
- Battery backup unit and charging rail
- User manual and safety decals
Note: You may need a helper for lifting the rail sections—each 4-foot section weighs about 35 lbs (16 kg). Professional installers recommend using a stud finder to locate wall studs for bracket placement, especially on plaster or drywall. If your stairs are curved, the kit includes a template for the rail curve, which must be verified against the staircase before drilling.
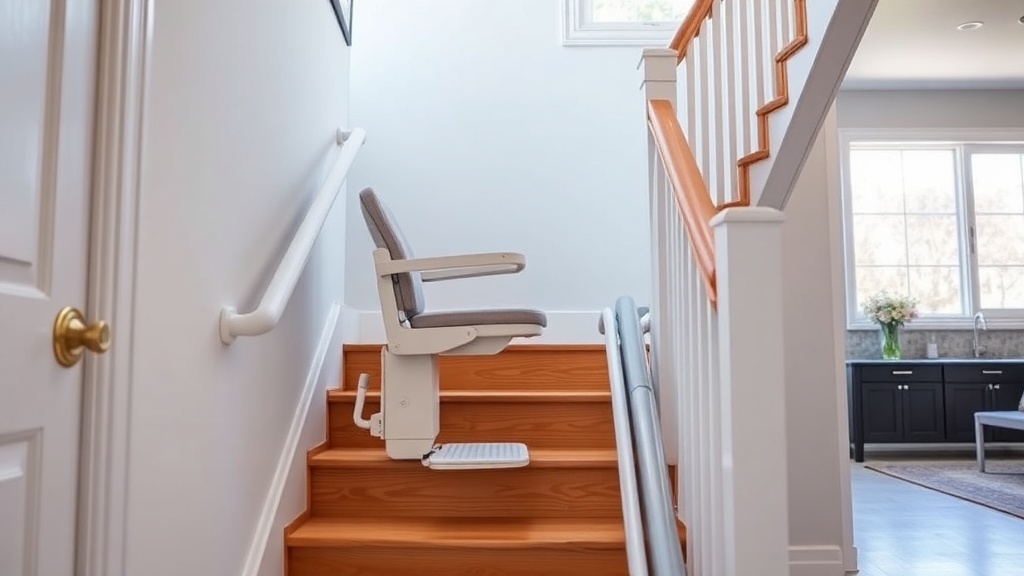
How Do You Align and Secure the Rail System Correctly?
Proper rail alignment is key to preventing the Acorn 130 from wobbling or making grinding noises. Start by attaching the floor-mounted brackets using the provided bolts; drill pilot holes in concrete or wood, then torque bolts to 25 Nm (18 ft-lb). The rail should be level from the bottom to the top, with a tolerance of ±1/8 inch (3 mm). Use a laser level to ensure the rail runs parallel to the staircase’s incline; adjustments are made via the bracket’s slotted mounting holes. For stairs with a landing, the rail may need a support bracket at the transition point to avoid flex. Once the rail is up, slide the carriage onto the rail and perform a manual crank test to verify smooth movement along the entire track. If the carriage sticks, check for debris in the gear track or misaligned rail joints.

What Are the Electrical and Safety Requirements for the Acorn 130?
The Acorn 130 runs on a 24V DC rechargeable battery system, requiring a continuous 110V AC (or 230V AC) power supply at the charging station, which is typically placed at the top of the stairs. The charger draws about 2 amps, so a dedicated circuit isn’t mandatory, but avoid plugging it into an outlet shared with high-draw appliances. All electrical connections must be properly insulated; the unit includes a built-in surge protector. For safety, ensure the obstruction sensors on the footrest are free from obstruction; they automatically stop the lift if contact is made. The emergency stop button is located on the armrest and should be tested by pressing it during the initial run. If the lift stops unexpectedly, refer to the Acorn 130 Safety Features: Obstruction Sensors and Emergency Stop guide for troubleshooting steps.
How Do You Complete the Calibration and User Handover?
After the rail is secure and the carriage is attached, you’ll need to calibrate the Acorn 130 so it stops at the top and bottom of the rail. The control board has a programming mode: press and hold the “Call” button for 5 seconds until the LED blinks, then manually move the lift to the top stop, press “Call” again, then move to the bottom stop and press “Call” a third time. Test the travel repeatedly—if the lift overshoots, adjust the limit stops via small screws on the rail ends. Once calibrated, demonstrate the seat rotation (up to 90 degrees), footrest folding, and manual lowering in case of power loss. Hand over the manual and charge the battery fully (about 8 hours for first charge). If any error codes appear on the display, check the Acorn 130 Error Codes: Troubleshooting Common Issues article for resolutions.
| Symptom | Severity Level | Typical Cause |
|---|---|---|
| Lift stops mid-rail | Usually not urgent | Low battery; charge for 6–8 hours |
| Grinding noise during travel | Needs attention soon | Debris in gear track; clean and lubricate with silicone spray |
| Carriage wobble | Needs attention soon | Loose bracket bolts; retorque to 25 Nm |
| Seat rotation fails | Usually not urgent | Obstruction in footrest; remove and reattach seat |
| Emergency stop button stuck | Needs attention soon | Dirt or debris; clean button with isopropyl alcohol |
| Battery warning LED flashes | Usually not urgent | Battery failure; replace battery pack per manual |
What Should You Check After Installation for Long-Term Performance?
Schedule a follow-up inspection one week after installation. Listen for unusual noises—a clicking sound might indicate a loose rail joint or misaligned gear. Test the obstruction sensors by placing an object 3–4 inches (7–10 cm) above the footrest; the lift should stop immediately and reverse slightly. Ensure the seat and footrest retract fully when folded. For curved staircases, check that the carriage follows the rail curve without binding—lubricate the gear track every 3 months with a dry PTFE lubricant. Also, verify that the battery holds a charge; if the lift runs slower after a few weeks, the battery may need replacement (typically every 3–5 years). For more on seat ergonomics, read the Acorn 130 Seat Design: Dimensions and Adjustability article.
What Owners Say
“Our Acorn 130 installers had the rail up in about 4 hours, but they spent an extra hour adjusting the limit stops because the stair landing was slightly uneven. After that, it’s been quiet and smooth—just remember to check the calibration if you move the rail brackets later.” — Patricia, London
“One thing I wish I’d known: the obstruction sensors are sensitive. Our dog’s tail triggered a stop twice during the first week. We learned to clear the footrest area before calling the lift. Otherwise, no issues with the installation, and the battery backup worked well during a power cut.” — Mark, Manchester
“The installation guide mentions using silicone lubricant—don’t use WD-40, as it gummed up the gear track on our unit. Stick to a dry PTFE spray, and you’ll be fine. We had to contact support to reset an error code, but the Acorn 130 Error Codes: Troubleshooting Common Issues article saved us a service call.” — Linda, Birmingham
Frequently Asked Questions
1. How long does a typical Acorn 130 installation take?
For a straight staircase, professional installation takes 3–5 hours. Curved staircases may take 6–8 hours due to custom rail bending and template alignment.
2. Can I install the Acorn 130 myself to save money?
DIY installation is not recommended—incorrect bracket torque or rail alignment can void the warranty and create safety hazards. Professional installers charge about £150–£250 in the UK or $300–$500 in the US for a straight setup.
3. What happens if the power goes out during installation?
The Acorn 130’s battery backup provides temporary power for the lift to complete a few trips. For installation, ensure the outlet is live; if not, the manual crank at the base can move the carriage manually.
4. Do I need to reinforce my stairs before installing the rail?
Most standard wooden or concrete stairs can support the rail’s weight (about 45 lbs per bracket set). However, if stairs are rotted or unstable, a structural engineer may need to assess before installation.
5. How do I clean the track after installation?
Use a dry cloth to wipe the rail and gear track weekly. For stubborn dirt, use a vacuum with a brush attachment. Avoid abrasive cleaners—they can damage the aluminum rail coating.
6. What if the lift makes noise after installation?
Noise often indicates loose brackets or debris in the gears. Tighten all bolts to 25 Nm, clean the track, and apply a dry PTFE lubricant. If noise persists, consult the Acorn 130 Safety Features: Obstruction Sensors and Emergency Stop article for sensor checks.