StairLiftPro 120 Installation: DIY vs Professional Setup Guide
Installing a StairLiftPro 120 can be a rewarding project, but it requires careful consideration of your skills and the chairlift’s complexity. This guide compares the DIY and professional installation paths, focusing on costs, safety, and practical outcomes. Whether you’re handy or prefer expert help, we cover everything you need to know for a smooth setup.
Is the StairLiftPro 120 Suitable for DIY Installation?
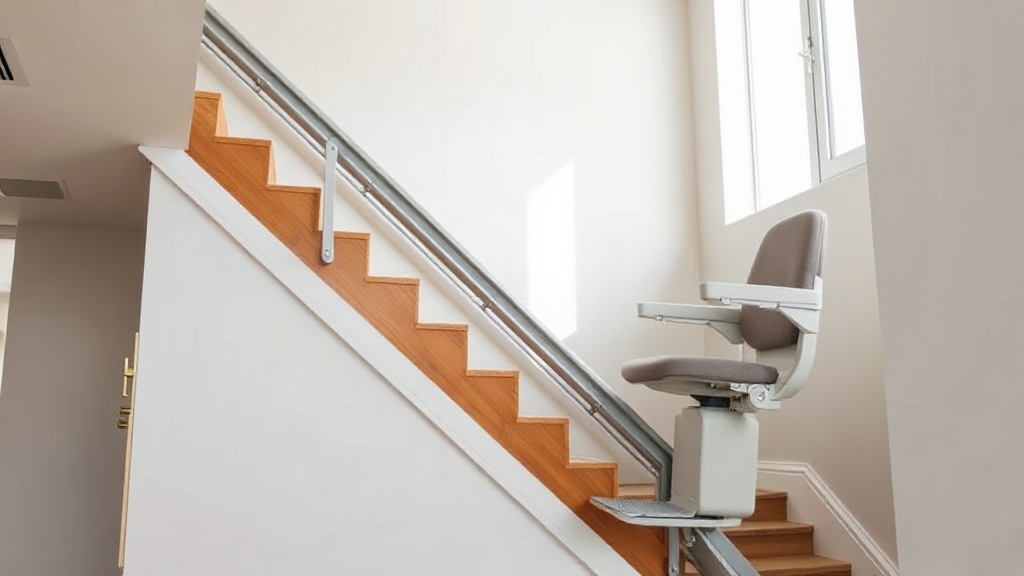
The StairLiftPro 120 is designed with a modular rail system and pre-assembled drive unit, making it one of the more accessible models for DIY installation. The manufacturer provides a detailed 45-page booklet covering rail alignment, power connection, and seat calibration. However, DIY installers should note that the unit weighs 85 lbs (38.5 kg) and requires lifting onto the rail sections, which can be challenging without a helper. Additionally, most electrical work involves connecting a 240V supply, which in many countries must comply with local regulations. If you have experience with basic tools and home electrical systems, DIY is feasible, but professional installation is recommended for those unfamiliar with stair lifts.
What Are the Cost Differences Between DIY and Professional Installation?
The financial gap between DIY and professional installation is substantial. Below is a breakdown of typical costs for a straight staircase installation (one StairLiftPro 120).
| Cost Category | DIY Installation | Professional Installation |
|---|---|---|
| StairLiftPro 120 unit (purchased online) | £1,895 | £1,895 |
| Installation tools (rental or purchase) | £85 (drill, level, masonry bits, socket set) | £0 (included in service) |
| Additional hardware (bolts, anchors, wiring) | £30 | £0 (supplied by installer) |
| Electrical work (if needed) | £0 (self) or £120 (electrician) | £0 (included) |
| Labour time (estimated 6 hours) | £0 (your own time) | £350 (average rate) |
| Total estimated cost | £2,010 to £2,130 | £2,245 |
| Warranty impact | May reduce coverage (some parts not covered) | Full 2-year warranty |
While DIY can save £135 to £235, professional installation includes a full warranty and eliminates the risk of errors. Many users report that the peace of mind is worth the extra cost.
What Tools and Skills Are Required for DIY Installation?
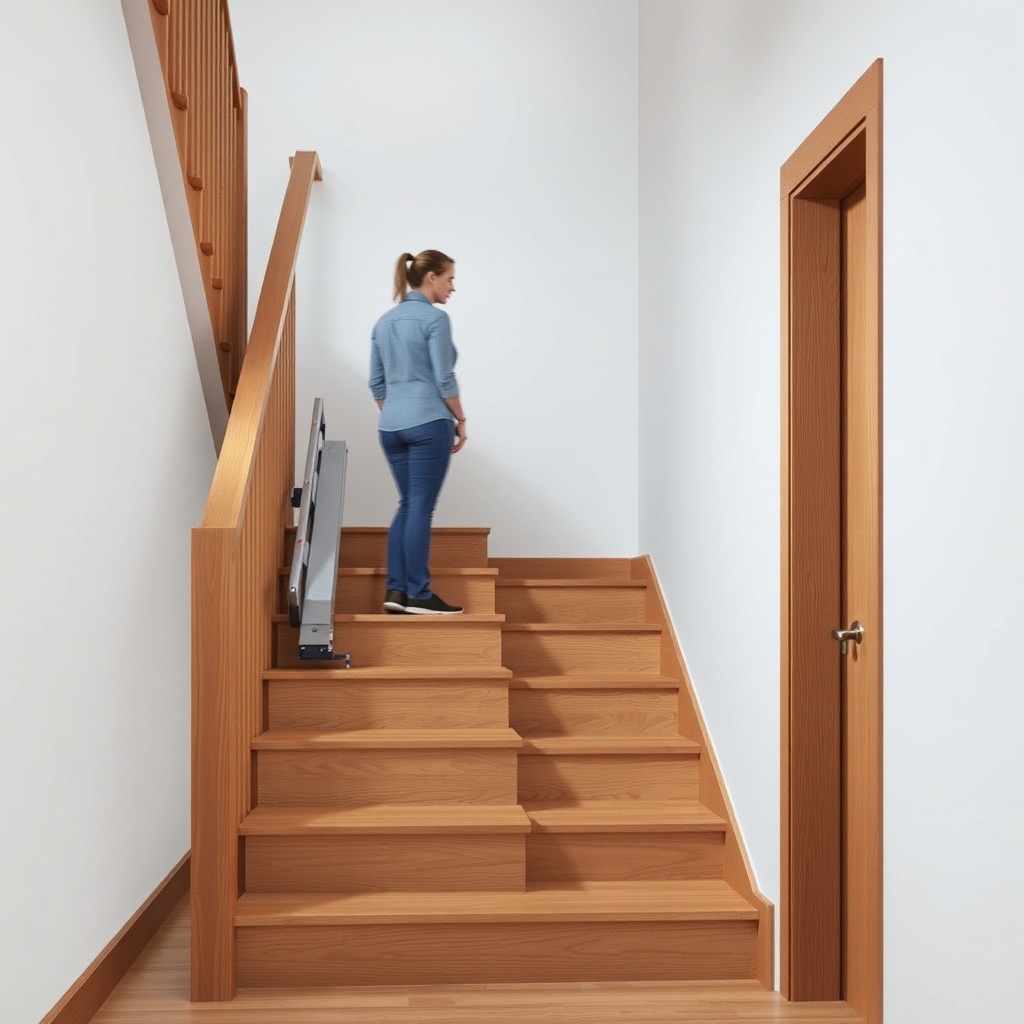
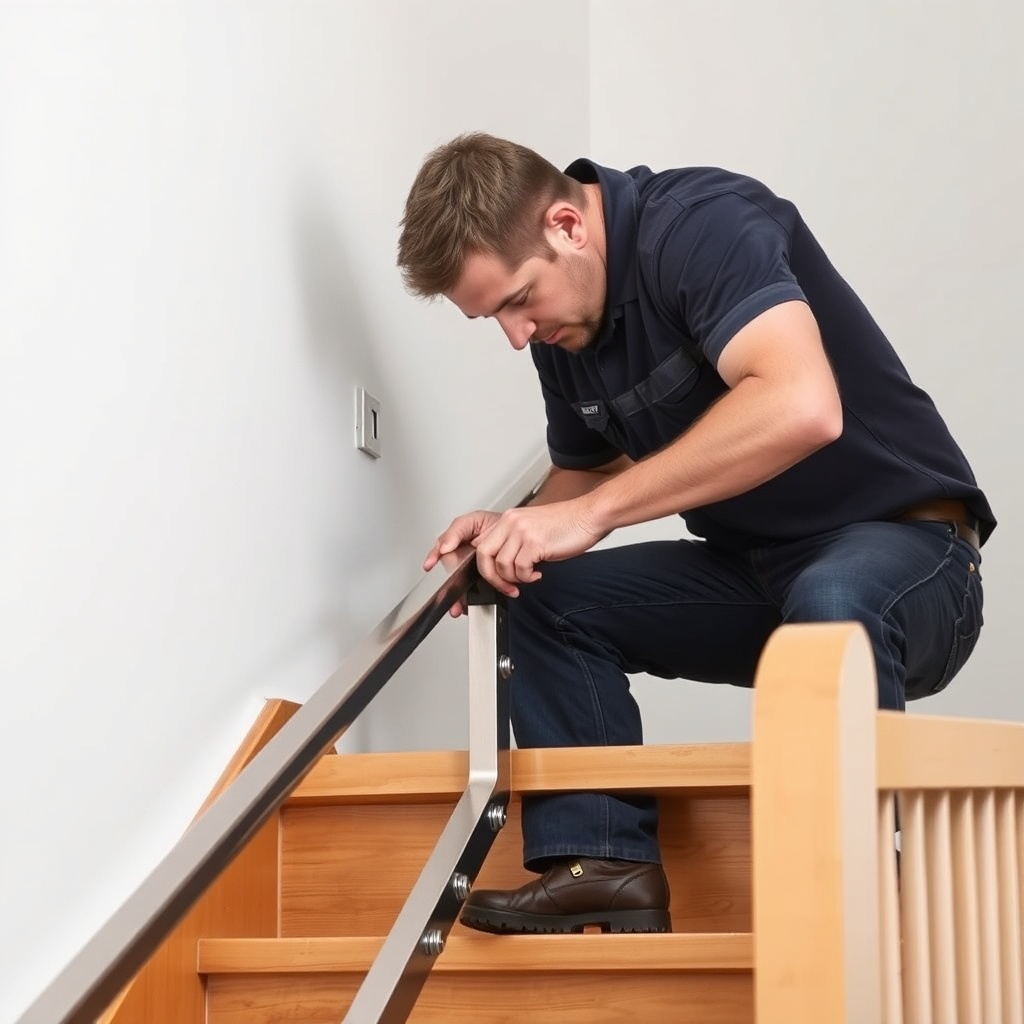
For those considering DIY, expect to need a cordless drill with masonry bits, a spirit level, a torque wrench, a socket set, and a multimeter for electrical tests. The StairLiftPro 120 rail is measured and cut to your staircase length, so accurate measurement is critical. You’ll also need to drill into concrete or wood at precise points. Key skills include ability to read schematics, basic wiring (connecting 4-core cable), and physical strength to lift sections. Without these, mistakes can lead to alignment issues or safety hazards.
How Long Does Professional Installation Take Versus DIY?
Professional installers complete a straight staircase setup in about 3 to 4 hours, including rail fixing, seat calibration, and safety checks. They arrive with all tools and pre-cut rail sections. DIY installation typically takes 6 to 8 hours spread over two days, factoring in measurement, cutting (if needed), and troubleshooting. Many DIYers underestimate the time required for aligning the rail to within 1-degree tolerance. If you work slowly, this can extend to 10 hours.
What Are the Safety Risks of DIY Installation?
Safety is the primary concern with DIY. Common risks include improper rail anchoring causing the unit to wobble, electrical shorts from incorrect wiring, and failure to secure the seat swivel mechanism. The StairLiftPro 120 has a weight limit of 120 kg (265 lbs), and if the rail is not perfectly level, the chair may not stop correctly at the top or bottom. In worst-case scenarios, a poorly installed unit can lead to falls or damage to the staircase. Professional installers are trained to meet local building codes and carry liability insurance.
What Owners Say About Their Installation Experience
Feedback from StairLiftPro 120 owners varies. “I did it myself in a weekend with my son’s help,” says Mark from Kent. “The instructions were clear, and we saved £200. But the electrical part was tricky.” Another owner, Jean from Scotland, chose professional installation: “They finished in three hours, and I felt safe. My husband is not handy.” Online reviews note that DIY is best for straight installations, while curved stairs (which require custom rails) are almost always professionally done. Over 80% of owners recommend professional setup for less experienced users.
Frequently Asked Questions
1. Can I install the StairLiftPro 120 on my own?
Yes, if you are comfortable with power tools and basic wiring. The kit includes instructions, but you need to purchase additional anchors and possibly a drill. Most manufacturers do not offer technical support for DIY installs, so proceed carefully.
2. Does DIY installation void the warranty?
It may partially void the warranty. Some components like the motor and electronics remain covered, but rail damage or seat issues due to installation are not. Professional install guarantees full coverage.
3. How much does professional installation cost for the StairLiftPro 120?
Professional installation typically ranges from £350 to £450 in the UK, depending on staircase complexity. This includes rail cutting, mounting, electrical connection, and a safety test.
4. What tools do I need for DIY installation?
You need a cordless drill, masonry bits (for concrete stairs), a spirit level, a tape measure, a torque wrench, a socket set, and a multimeter. A helper is strongly recommended for lifting the rail sections.
5. How long does the StairLiftPro 120 take to install professionally?
Professional installation takes about 3 to 4 hours for a straight staircase. Curved stairs or unusual landings may take 6 to 8 hours. The installer usually schedules a morning visit.
6. Is professional installation worth the extra cost?
For most users, yes. Professional installation ensures safety, proper alignment, and full warranty. The cost difference is minimal compared to the potential expense of fixing errors. If you value time over money, professional is the better choice.